
Welcome to our step-by-step guide on how to get your domain on the official GoDaddy platform! If you’re looking to establish a powerful online presence, having your own domain is an essential first step. And with GoDaddy’s reliable and user-friendly services, getting your domain up and running has never been easier. In this blog post, we’ll walk you through the process of registering a domain with GoDaddy and connecting it to your website. So let’s dive in and unlock the endless possibilities that await!
GoDaddy Domain Registration
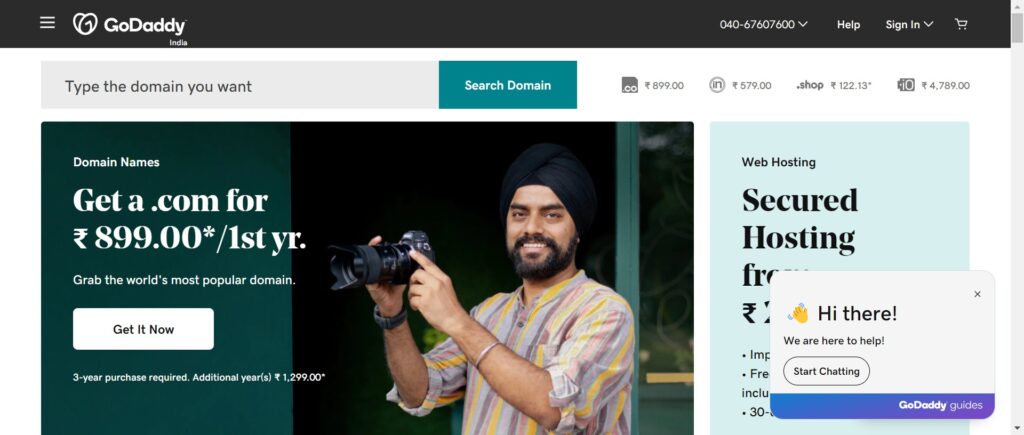
When it comes to getting your own domain, GoDaddy is a popular choice for many website owners. With its user-friendly interface and competitive pricing, it’s no wonder why so many people turn to GoDaddy for their domain registration needs.
To get started, simply visit the GoDaddy website and search for the domain name you desire. The platform will provide you with various options and extensions available for that particular name. Take your time to choose the best option that aligns with your brand or business.
Once you’ve selected your desired domain, proceed to the registration process. This involves providing some basic information such as your contact details and payment method. Rest assured that GoDaddy takes privacy seriously and ensures the security of your personal information.
After completing the registration process, you will receive confirmation of ownership for your newly acquired domain. It’s important to keep this documentation safe as it serves as proof of ownership.
With GoDaddy by your side, registering a domain has never been easier. So go ahead and secure that perfect web address for yourself or your business today!

Connecting Your Domain to Your Website
Now that you have successfully registered your domain with GoDaddy, the next step is to connect it to your website. This process may vary depending on the platform or hosting provider you are using, but here is a general guide to help you get started:
1. Determine your website platform: If you haven’t already done so, choose a website platform that suits your needs. Popular options include WordPress, Wix, Shopify, and many more.
2. Obtain DNS information: To connect your domain to your website, you will need to update its DNS (Domain Name System) settings. Contact your web hosting provider or refer to their documentation for the necessary DNS records and information.
3. Access GoDaddy account settings: Log in to your GoDaddy account and navigate to the “My Products” section.
4. Manage domains: Find the domain name you want to connect and click on “DNS” or “Manage DNS.”
5. Update DNS records: Look for an option like “Add Record” or “Edit Zone.” Here, you will enter the relevant information obtained from your web hosting provider.
6. Save changes: Once all necessary DNS records have been added or updated correctly according to your web host’s instructions, save the changes within GoDaddy’s interface.
7. Propagation time: Keep in mind that changes made in DNS settings can take some time to propagate across the internet fully—typically between 24-48 hours—so don’t panic if it doesn’t work immediately.
8. Test connectivity: After sufficient propagation time has passed, test whether your domain is properly connected by entering it into a browser address bar and checking if it leads directly to your website.
Congratulations! You have now successfully connected your domain from GoDaddy with your website!
Remember that troubleshooting specific issues might require additional technical expertise from either GoDaddy support or specialized forums related specifically to both GoDaddy and your chosen website platform.
Getting your domain on